

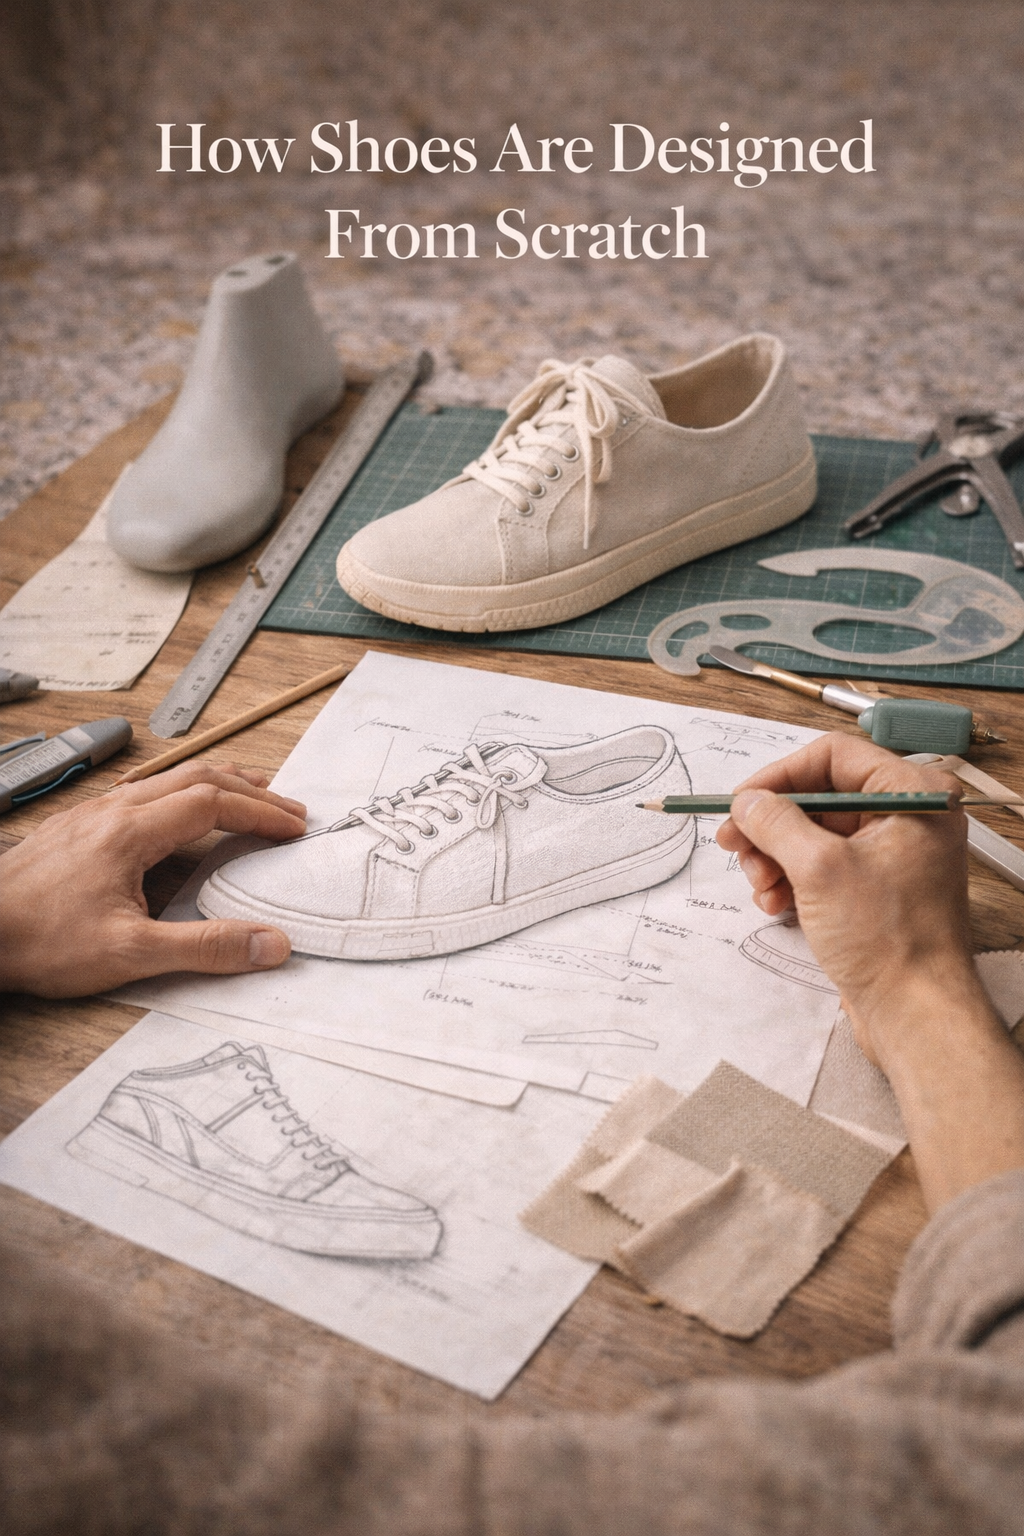
A shoe begins with a question: who will wear it, and for what? A running shoe for a trail, a work boot and a dress shoe each start with different requirements. The process is rarely a straight line; designers, developers and makers revisit decisions as samples reveal what works.
1. Define the brief
A brief can identify the intended wearer, activity, price range, size range and visual direction. A team may study existing products, talk to potential customers and consider the conditions in which a shoe will be worn. The goals should be specific enough to guide trade-offs: for example, a weather-resistant upper can change the feel and appearance of a shoe.
2. Explore ideas and shape
Sketches and digital models help teams compare proportions, closures and details before committing to a sample. A silhouette includes the toe, heel, collar and sole profile. The shoe silhouette guide explains how these choices affect appearance; appearance alone does not tell you whether a shoe will fit.
3. Choose a last
A last is the form around which a shoe is shaped. Its length, width, toe shape and volume help establish fit and proportions. Designers may start with an existing last or develop one for a new project. The guide to shoe lasts looks at their role in more detail.
4. Select materials and construction
The upper, lining, midsole and outsole each have a job. Designers compare feel, appearance, cost, availability and how materials can be assembled. Leather and synthetic materials come in many forms; neither label alone tells you how a finished shoe will perform. Our shoe anatomy guide identifies the main components.
Construction choices also affect production and potential repair. The glue and stitching comparison explains why different methods suit different designs.
5. Make and refine samples
A prototype gives the team something to fit, flex and inspect. They may adjust patterns, the last, materials or sole, then make another sample. The checks used depend on the product and its intended purpose; a sample is not proof that every wearer will find a shoe comfortable.
6. Prepare for production
Once the design is approved, teams document materials, dimensions, patterns, colors and assembly details for the manufacturer. Production samples and quality checks help compare the finished product with those specifications. Even at this stage, practical constraints can require revisions.
Common questions
Does every shoe require a new last? No. A maker may use or adapt an existing last.
Is design finished after the first sketch? Usually not. Prototyping and feedback often change the original idea.
Is a digital rendering a finished shoe? No. It is a way to explore an idea; construction, fit and production still need to be resolved.

Leave a Reply